
RecyclerView is a part of the view group that contains a single view that is recycled repeatedly to display the corresponding data. We have item_layout as our single view which will display our data repeatedly in a recycler format.

Login and Signup Page in Android Studio using Firebase Realtime Database with Profile – Easy 12 Steps.
Firebase is a service to applications, it provides hosting, NoSQL storage, real-time databases, social authentication, notification, and other services.
In this project, we have created a login and signup page in android studio using firebase realtime database so all our data will be saved for free! When the user signup using a username and password gets stored in the realtime database of firebase.

GridView in Android Studio using Java
The GridView in android studio is a type of view in AdapterView that display the data in grid format, either horizontally or vertically. It shows data in the 2D design in rows and columns.

Bottom Navigation Bar in Android Studio using Java – Bottom Navigation Dialog
Bottom Navigation Bar in Android Studio using Java – Bottom Navigation View Bottom Navigation Bar The Bottom Navigation Bar is a navigation view provided at the bottom of the screen making it easy for users to switch between multiple fragments or activities with the help of the bottom navigation bar. We have provided four fragments – Home, Shorts, Subscriptions, and Library and one floating action button. Users can easily switch between any of these. You can use fragments or activities as per your choice. Step-by-Step Implementation Step 1: Open Android Studio, Create New Project, Choose Empty Activity and Name the Project “Bottom Navigation”. Step 2: colors.xml Add our lavender color 8692f7 in the colors.xml Step 3: themes.xml Disable the action bar and change the theme color to lavender as per the below code. Step 4: Add viewBinding in the Gradle: app We have added viewBinding because it helps to directly access the XML layout items without instantiation. Step 5: Add all the vector assets to the drawable folder Icons – home, add, subscriptions, library, whatshot. Step 6: bottom_menu.xml Right-click on res -> Android Resource Directory and select the menu then right-click on the menu directory and click on New -> Menu Resource File and name “bottom_menu”. Step 7: activity_main.xml We have used a frame layout because it will replace the existing fragments with each other and make it possible for us to switch between different fragments. Step 8: all fragments.xml Create four fragments named – HomeFragment, ShortsFragment, SubscriptionFragment, and LibraryFragment. fragment_home.xml fragment_shorts.xml fragment_subscriptions.xml fragment_library.xml Clear all unnecessary code from all the Fragments.java – HomeFragment, ShortsFragment, SubscriptionFragment, and LibraryFragment. Step 9: MainActivity.java Output AK Bonus Points If you have any queries or errors, please feel free to comment below 😉 Please subscribe to my youtube channel ❤️ Check our previous post: Navigation Drawer Menu in Android Studio using Java Check our Youtube Video: Bottom Navigation Bar in Android Studio
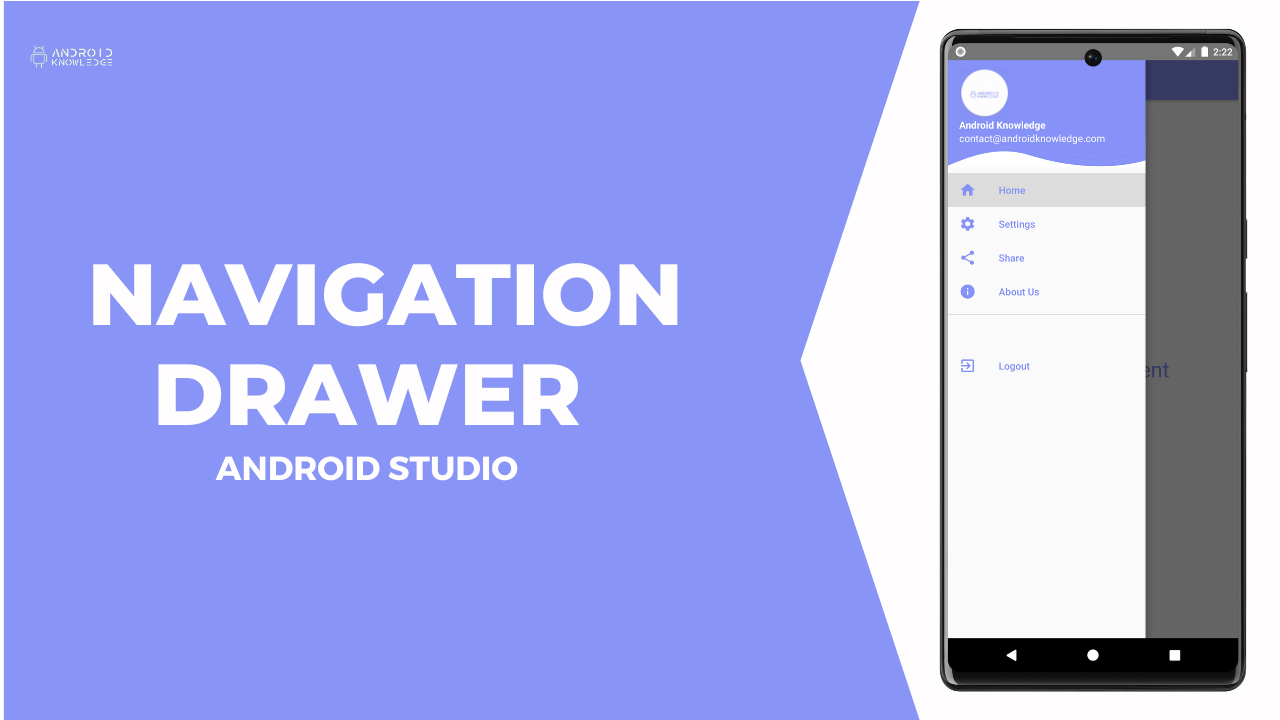
Navigation Drawer in Android Studio using Java
Navigation Drawer in Android Studio using Java Navigation Drawer Navigation Drawer is a side menu panel that consists of different navigating fragments. The menu is provided at the left of the screen which opens and closes as per your user requirements, There are different fragments present in the menu, so when you click on any one fragment it will lead you to a different screen. The best example would be Gmail App, when you click on the menu a side panel opens up that consists of All Inboxes, Primary, Promotions, and Socials. Download the Logo and Background Logo: Header Background: Step-by-Step Implementation Step 1: Open Android Studio, Create New Project, Choose Empty Activity and Name the Project “Navigation Drawer”. Step 2: colors.xml Step 3: strings.xml Step 4: themes.xml Step 5: AndroidManifest.xml Step 6: Add Images and Vector Asset in Drawables Folder. I have added two images, the first is the logo image and the second is the header image. Further, I have added five vector assets. Icon Name – Home, Settings, Info(About), Exit(Logout), Share. Step 7: Create four blank fragments and name them as follows: HomeFragment, SettingsFragment, AboutFragment, ShareFragment. Step 8: nav_menu.xml Right-click on res -> Android Resource Directory and select the menu then right-click on the menu directory and click on New -> Menu Resource File and name “nav_menu”. Step 9: nav_header.xml Right-click on layout -> Layout Resource File -> nav_header Step 10: activity_main.xml Step 11: All fragments.xml fragment_home.xml fragment_about.xml fragment_settings.xml fragment_share.xml Step 12: Clear unnecessary code in all the Fragments.java Check our Youtube Video: Navigation Drawer Menu in Android Studio using Java. Step 13: MainActivity.java Output AK Bonus Points If you have any queries or errors, please feel free to comment below 😉 Check our previous post: Login and SignUp in Android Studio using Firebase Check our Youtube Video: Navigation Drawer Menu in Android Studio using Java

Login and SignUp Page in Android Studio using Firebase Authentication | Java Easy 9 Steps
Firebase is a service to applications, it provides hosting, NoSQL storage, real-time databases, social authentication, notification, and other services.

Easy Login Page in Android Studio using Java – 5 Steps Only!
The login page is used for authentication purposes in the applications. We required a firstly sign-up page where users will register themselves and will be able to log in the app with a username and password using login page in android studio.
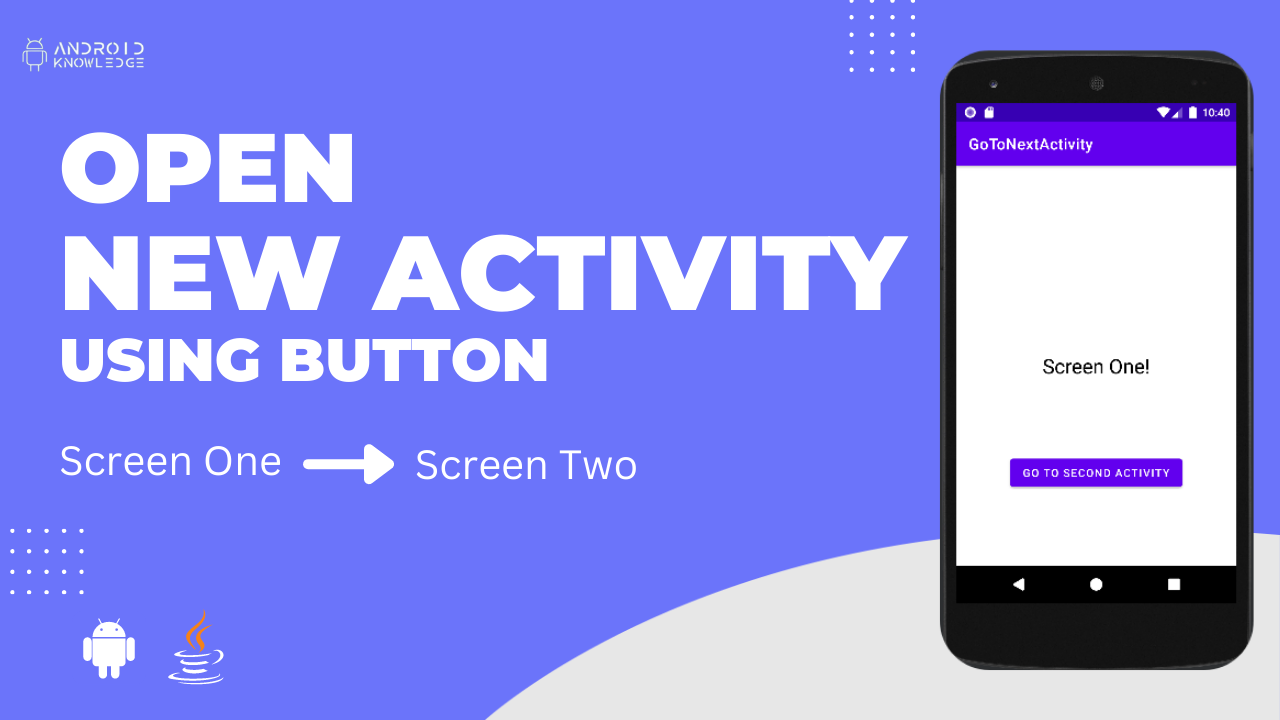
How to Open New Activity from Android Button Click in Android Studio using Java – Easy 5 Steps Only.
The intent is used for switching from one activity to another activity. It navigates from one screen to another screen in the same app only. The intent is required for multiscreen apps which has more than one screen. In this project, we open new activity from android button click to go from screen one to screen two.
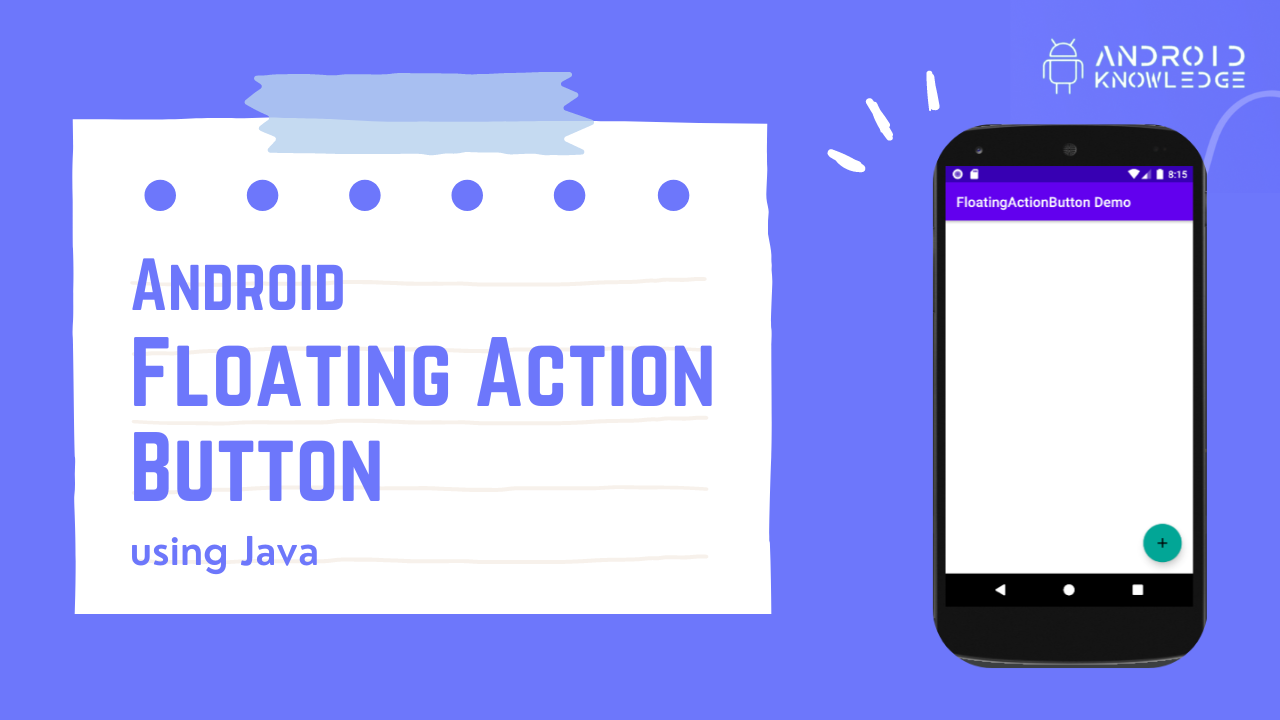
How to Create Floating Action Button in Android Studio using Java – Easy 4 Steps Only.
A floating action button is a type of button that can be placed anywhere on the screen. It’s usually round in shape and can be expandable as well. To add a floating action button, we require dependency in the Gradle file.
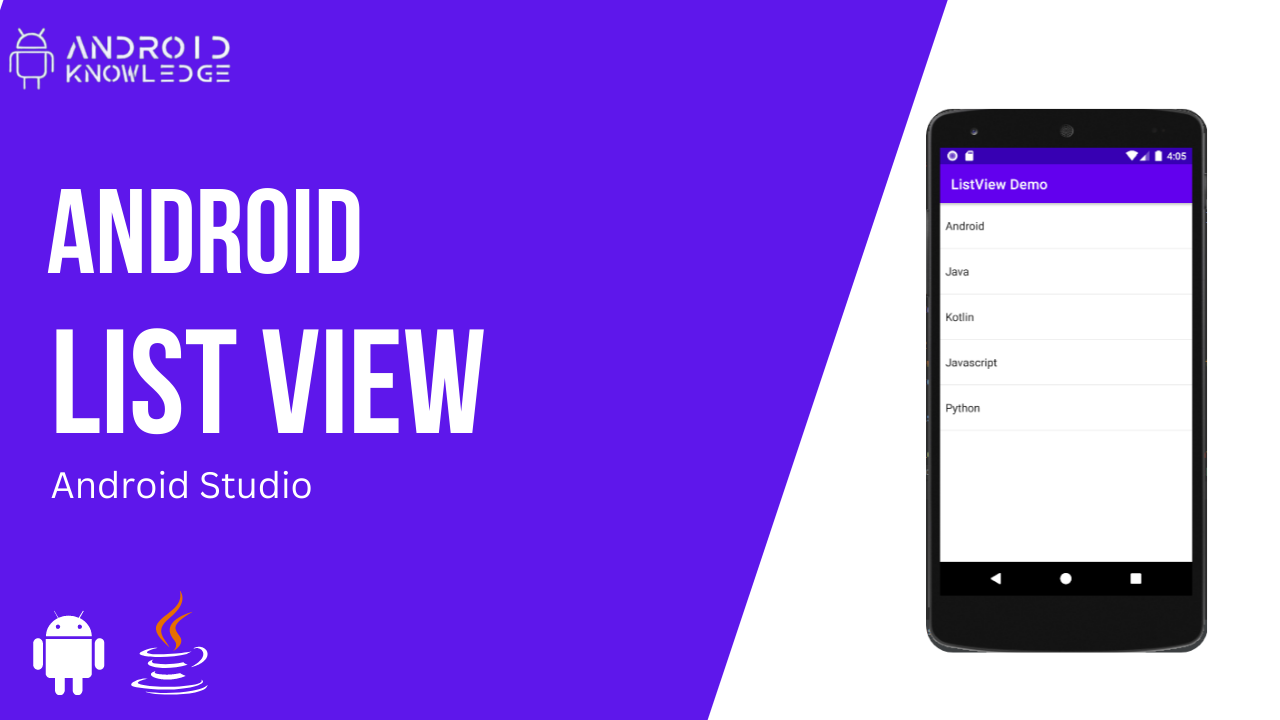
How to Create ListView in Android Studio – Easy 3 Steps Only.
In android views, ListView is a part of ViewGroup which displays list items in a vertical scrollable layout. With the help of an Adapter, we will display all the list items in ListView.