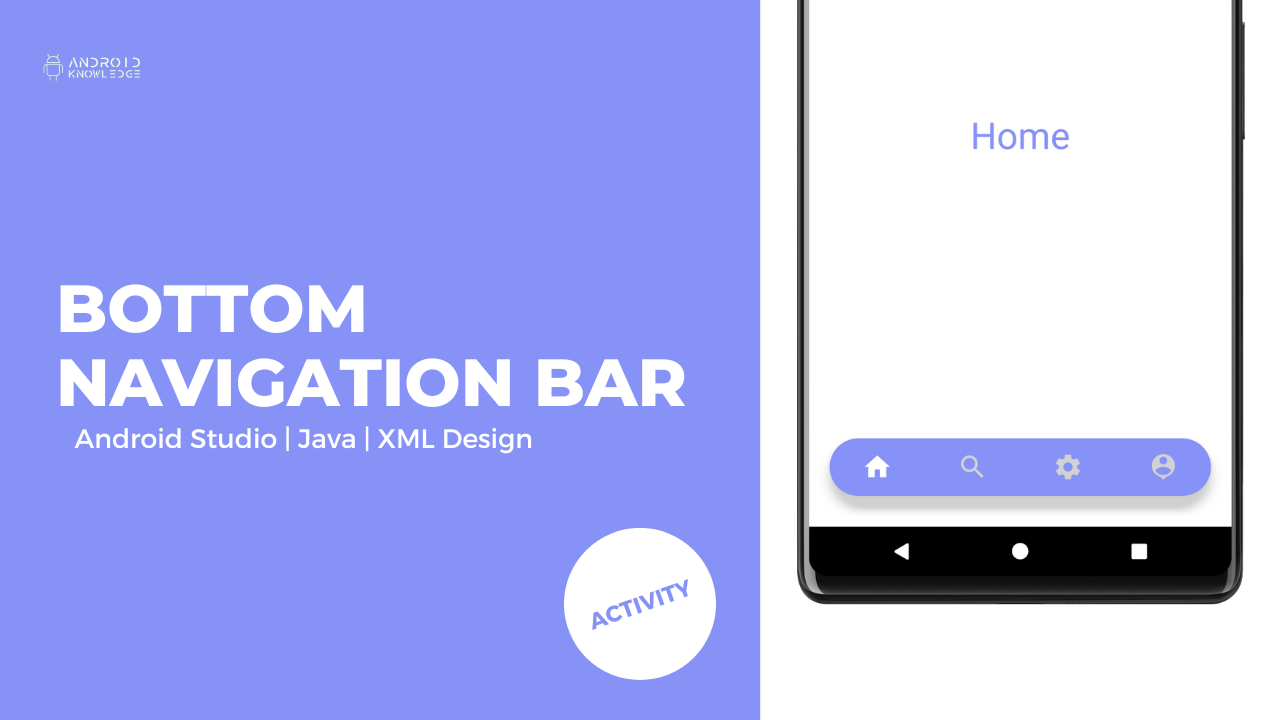
The Bottom Navigation Bar is a navigation view provided at the bottom of the screen making it easy for users to switch between multiple fragments or activities with the help of the bottom navigation bar.
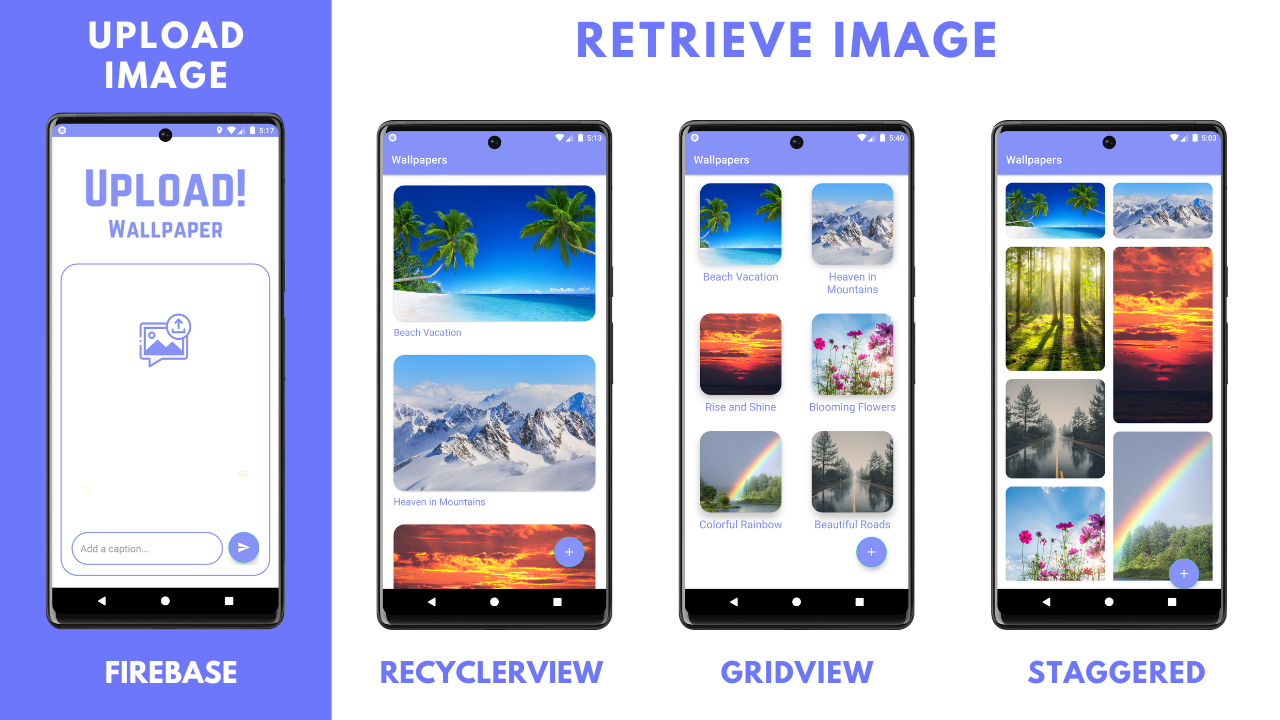
Store Retrieve Image in Firebase Realtime Database using Android Studio and Display in RecyclerView, GridView, and Staggered Layout – Easy 9 Steps
Store Retrieve Images in Firebase Database using Android Studio and Display in RecyclerView, GridView, and Staggered Layout What is Firebase Realtime Database? Firebase is a service to applications, it provides hosting, NoSQL storage, real-time databases, social authentication, notification, and other services. GridView GridView is a widget in Android Studio that displays items in a two-dimensional grid. Each item is represented by a View object, which can be a text view, image view, or any other type of view. GridView is often used to display images, but it can be used to display any type of view. Staggered Layout Staggered Layout is a type of layout manager in Android Studio that is used to display items in a staggered grid or masonry style layout. Unlike GridView or RecyclerView’s GridLayoutManager, Staggered Layout Manager allows for items of different sizes to be displayed in the same row or column, resulting in a more dynamic and visually appealing layout. In a staggered layout, the items are positioned based on their content and not on a fixed column or row. This layout is useful when you want to display items in a grid-like layout, but the items are not of the same size or when you want to create an interesting visual effect. To use Staggered Layout in your Android Studio project, you can create a new StaggeredGridLayoutManager object and set it to your RecyclerView. Step-by-Step Implementation Step 1: Open Android Studio, Click New Project and Choose Empty Activity. Step 2:colors.xml themes.xml lavender_border.xml AndroidManifest.xml Gradle: Module Upload Images activity_upload.xml DataClass.java UploadActivity.java Retrieve Images – RecyclerView activity_main.xml recycler_item.xml MyAdapter.java MainActivity.java Retrieve Images – GridView activity_main.xml grid_item.xml MainActivity.java MyAdapter.java Retrieve Images – Staggered Layout activity_main.xml staggere_item.xml MainActivity.java MyAdapter.java Output AK Bonus Points If you have any queries or errors, please feel free to comment below 🙂 For detailed steps, watch our youtube videos: Stepwise Videos: Step 1: Upload Image in Firebase Database in Android Studio using Java | Part 1https://youtu.be/VH_KyGf8Xno Step 2: Retrieve Image from Firebase Database in Android Studio using Java and Display in RecyclerView | Part 2https://youtu.be/2qrtuojcFhw OR Step2.1: Retrieve Image from Firebase Database and Display in GridView in Android Studio using Javahttps://youtu.be/nHzOSXZuwfQ OR Step 2.2: Retrieve Image from Firebase Database and Display in Staggered Layout in Android Studio using Javahttps://youtu.be/GxjFdOVRrv4 For more articles, click here
Store & Display Profile Data in Navigation Drawer in Android Studio using Java – Easy 12 Steps
The navigation drawer is a side menu panel that consists of different navigating fragments. The menu is provided at the left of the screen which opens and closes as per your user requirements, There are different fragments present in the menu, so when you click on any one fragment it will lead you to a different screen.
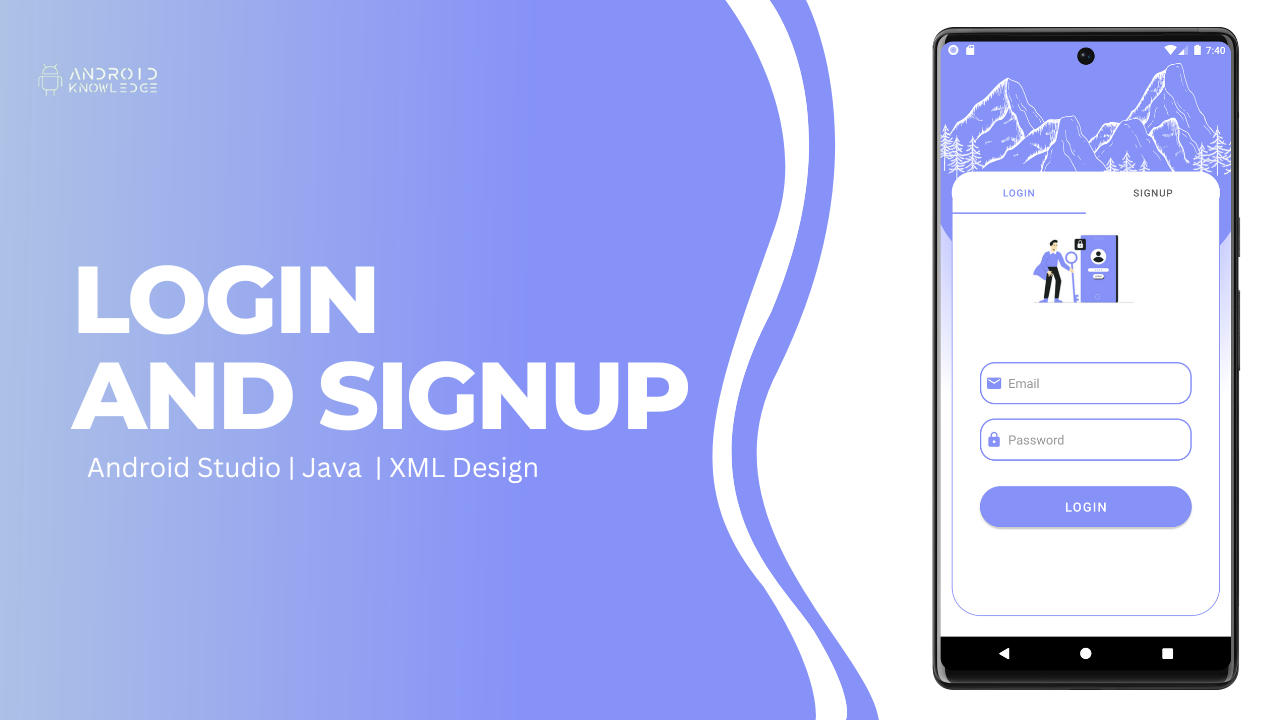
Easy Login and Signup Page in Android Studio using TabLayout and ViewPager2
ViewPager2 is a better version of ViewPager where there will be a view in which you can swipe right or left in a particular area. In the below project, we have used viewpager2 to swipe between the login and signup pages.
Google Maps in Android Studio – Easy 4 Steps
Google Maps in Android Studio using Java Google Maps API Google Maps API is a powerful tool that allows developers to integrate maps and location-based functionality into their Android Studio projects. By using the API, developers can access a wealth of data, including street maps, satellite imagery, and real-time traffic information, as well as a wide range of features such as geocoding, routing, and place search. One of the key benefits of the Google Maps API is that it is easy to use, with a simple and intuitive interface that makes it easy for developers to get started. Additionally, the API is highly customizable, allowing developers to tailor the maps and location-based features to suit the specific needs of their app or website. Overall, the Google Maps API is a valuable resource for any developer looking to add location-based functionality to their Android Studio projects. Step-by-Step Implementation Step 1: Open Android Studio, Click on New Project and Choose Empty Activity. Step 2: Pre-requisites Google Cloud API Website https://cloud.google.com/apis (Further click on Console) Gradle module Download Drawables Add vector asset as clear icon and download google marker from below: colors.xml themes.xml lavender_border.xml AndroidManifest.xml Step 3: XML Layouts activity_main.xml activity_maps.xml Step 4: Java Files MainActivity.java MapsActivity.java Output AK Bonus Points If you find this article easy and insightful, please share it with your friends. If you have any queries or errors related to the above context, please feel free to reach out through the comment section. For a detailed explanation, please check my YouTube Video: Show Current Location on Google Maps in Android Studio Google Maps Playlist – Click Here Check my other articles on Android Knowledge: https://androidknowledge.com/android/ Thank you 🙌
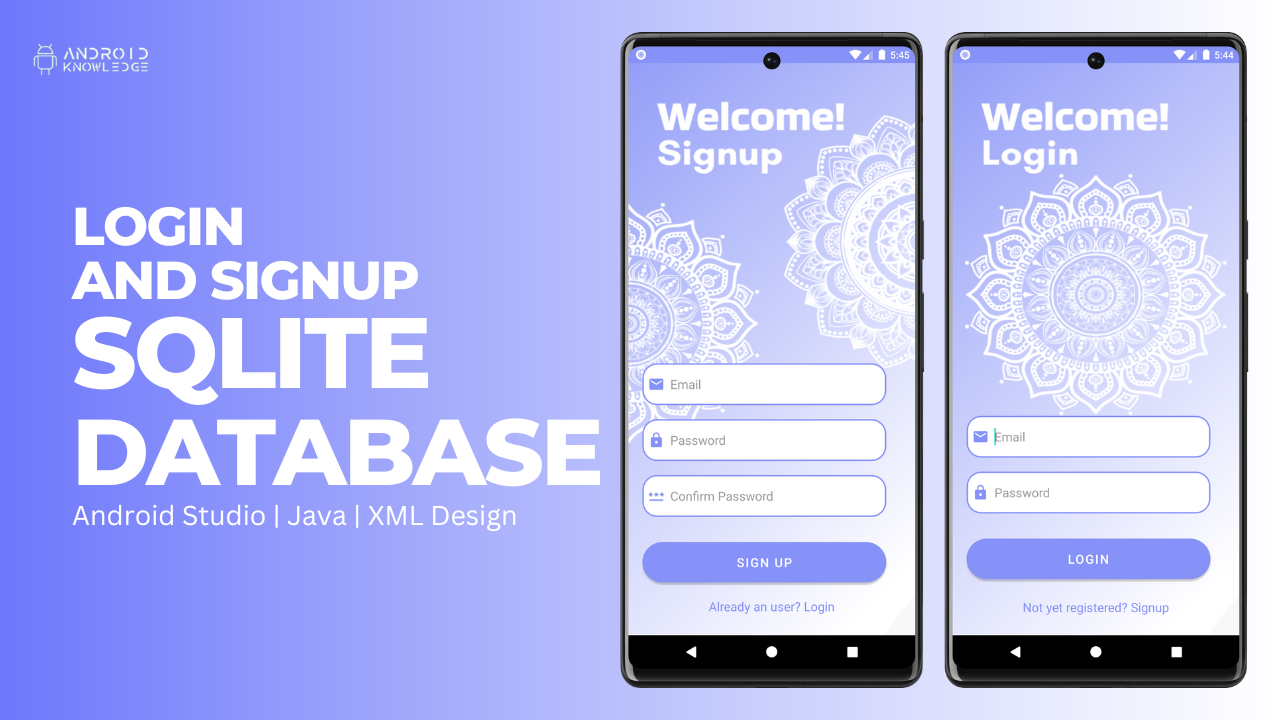
Login and Signup using SQLite in Android Studio using Java – Easy 5 Steps
Login and Signup using SQLite in Android Studio using Java – Easy 5 Steps SQLite Database SQLite Database stores all the user data in the user’s device itself. It is an open-source database. In the file manager, you can check the database of the user which is in text file format. In our project. we have created a login and signup page in android studio using java where we will save all the user information such as email and password in the SQLite database. You can view the database either through SQLDatabase Software or by downloading the Simple SQLite Database Plugin in Android Studio where you can see database tables. Step-by-Step Implementation Step 1: Open Android Studio. Create New Project and choose Empty Activity. Step 2: Pre-requisites Gradle module colors.xml themes.xml lavender_border.xml Drawables Vector Assets – email, lock, and password. Download Drawables Step 3: XML Files activity_signup.xml activity_login.xml activity_main.xml Step 4: Java Files DatabaseHelper.java SignupActivity.java LoginActivity.java Output AK Bonus Points If you find this article easy and insightful, please share it with your friends. If you have any queries or errors related to the above context, please feel free to reach out through the comment section. For a detailed explanation, please check my YouTube Video: Login and Signup using SQLite in Android Studio using Java Check my other articles on Android Knowledge: https://androidknowledge.com/android/ Thank you 🙌
Custom ListView in Android Studio using Java – Easy 7 Steps
ListView is one of the views from the view group which shows the data in a vertical scrollable format. It enhances the user experience as it makes the list easily understandable for users.
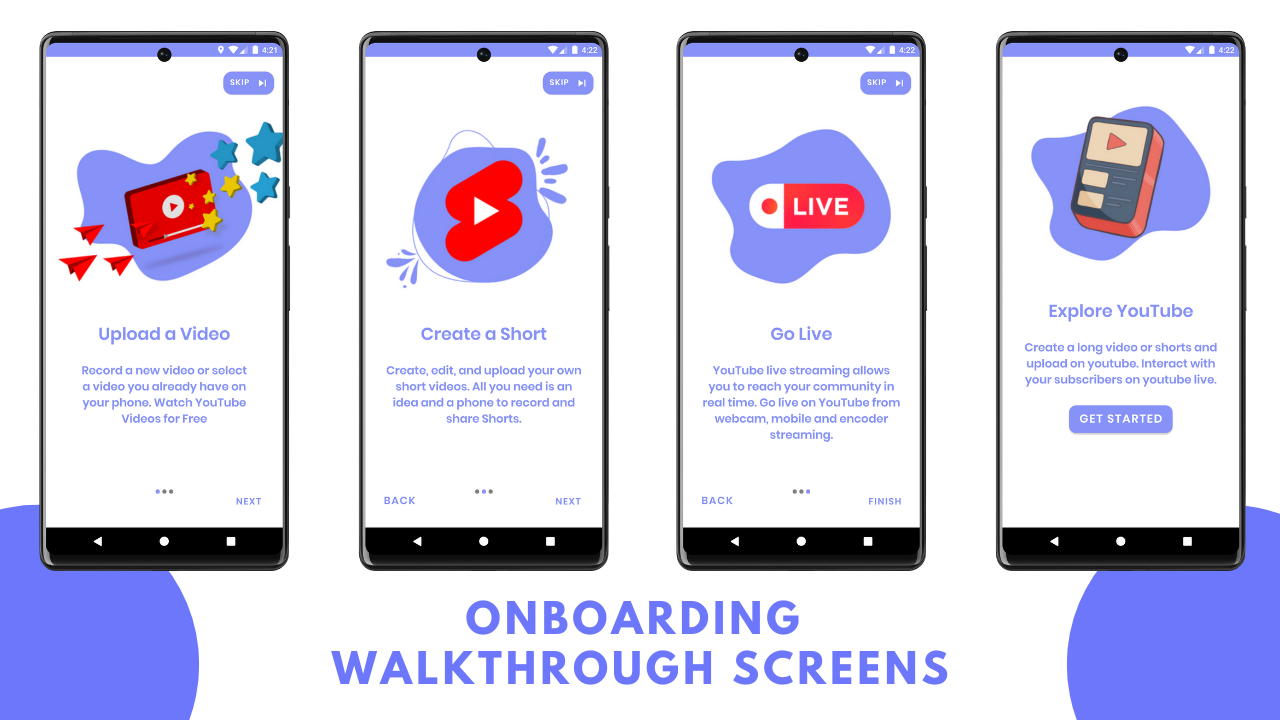
Onboarding Walkthrough Screen in Android Studio using Java – Easy 3 Steps
ViewPager lets you swipe left or right on a specific area. It consists of images, texts, and buttons. It provides you with different views in a constant environment in android studio. Onboarding Walkthrough Screens help the new user guide through various screens.
Alarm Clock with Notifications in Android Studio using Java – Alarm Manager Easy 4 Steps Only
The Alarm Manager sets the system alarm as per your scheduled time. Even, if you are not currently running the application it will still throw a notification as per the scheduled time.
Store Retrieve Data in Firebase Realtime Database using Android Studio – Easy 9 Steps!
Store Retrieve Data in Firebase Realtime Database using Android Studio – Easy 9 Steps! Download Drawables What is Firebase Realtime Database? Firebase is a service to applications, it provides hosting, NoSQL storage, real-time databases, social authentication, notification, and other services. In this project, we have created a login and signup page in android studio using firebase realtime database so all our data will be saved for free! When the user signs up using a username and password gets stored in the realtime database of firebase. For login purposes, the same credentials are checked in the firebase realtime database and if it matches with user credentials then it will lead you to the home screen otherwise it will throw an error as login failed. Step-by-Step Implementation Step 1: Open Android Studio, Click New Project and Choose Empty Activity. Step 2:colors.xml themes.xml lavender_border.xml AndroidManifest.xml Gradle: Project Gradle: Module Step 3: progress_layout.xml recycler_item.xml activity_main.xml activity_upload.xml activity_detail.xml activity_update.xml Step 4: MainActivity.java Step 5: DataClass.java Step 6: UploadActivity.java Step 7: MyAdapter.java Step 8: DetailActivity.java Step 9: UpdateActivity.java Output AK Bonus Points If you have any queries or errors, please feel free to comment below 🙂 For detailed steps, watch our youtube video: Store Data in Firebase Realtime Database in Android Studio Retrieve Firebase Data in Profile YT Video: How to Retrieve Data from Firebase Database and Display in Profile Activity – Android Studio Check our similar post here: Login and Signup using Firebase Authentication in Android Studio

